Summary/Goal:
Managers can set custom text to appear in the footer of any communication that is sent out to residents. Email footers are set on a community level and there can be only one email footer per community.Brief:
To create an email footer template, simply navigate to the Settings and click on “Templates”. Then, you’ll be able to create and apply an email footer for that specific community or multiple communities at once.Steps to creating an email footer:
- Under “Settings”, click on “Templates”.
- Under “Template Groups”, click on “Email Footer”.
- Click on “Add Comment”.
- In the Content tab, be sure to add the subject, content, and description. Add the message that you want to display in the email footer in the box labeled “Content”. You’ll also decide whether to allow other users to modify the content or not.
- Then click on the “Communities” tab to apply the email footer template you just created to that specific community or multiple communities at once.
- Once you’ve selected the communities, click “Save”.
Advanced: New lines in the email footer
Creating a new line in the templated email footer is not as simple as hitting the enter key. Any time you would like to add a new line to your email footer add a <br> text at the end of the line that you want to end. It won't immediately show in the template but when you send emails anything beyond the <br> will appear on the next line. The <br> will not show in the email.
Example in the template:
This is a line. <br> This would act as a new line in the email.
What it would look like in email:
This is a line.
This would act as a new line in the email.
Advanced: Adding an image to the email footer
Managers can add an image to the email footer using basic HTML to enhance their community emails.Step by Step:
- You’ll first need to upload your image to an image hosting website. See our article on image hosting options.
- Once you’ve uploaded the image, you’ll need to copy the URL of the image.
- Now, you’ll need to implement a little bit of HTML code:
<img src=”yourimageURLhere.html” height=”100” width=”100”>. You can adjust the height and width as per your requirements; however, you’ll want to make sure that the width is less than 500px for the best results. - Go to the Email Footer area in the templates and click “Add Comment”. Paste the above HTML code that contains your image URL into the “Content” box.
- Select the communities that you want the message to display in and click "Save". We recommend doing a test to see how your email footer looks prior to sending out messages.
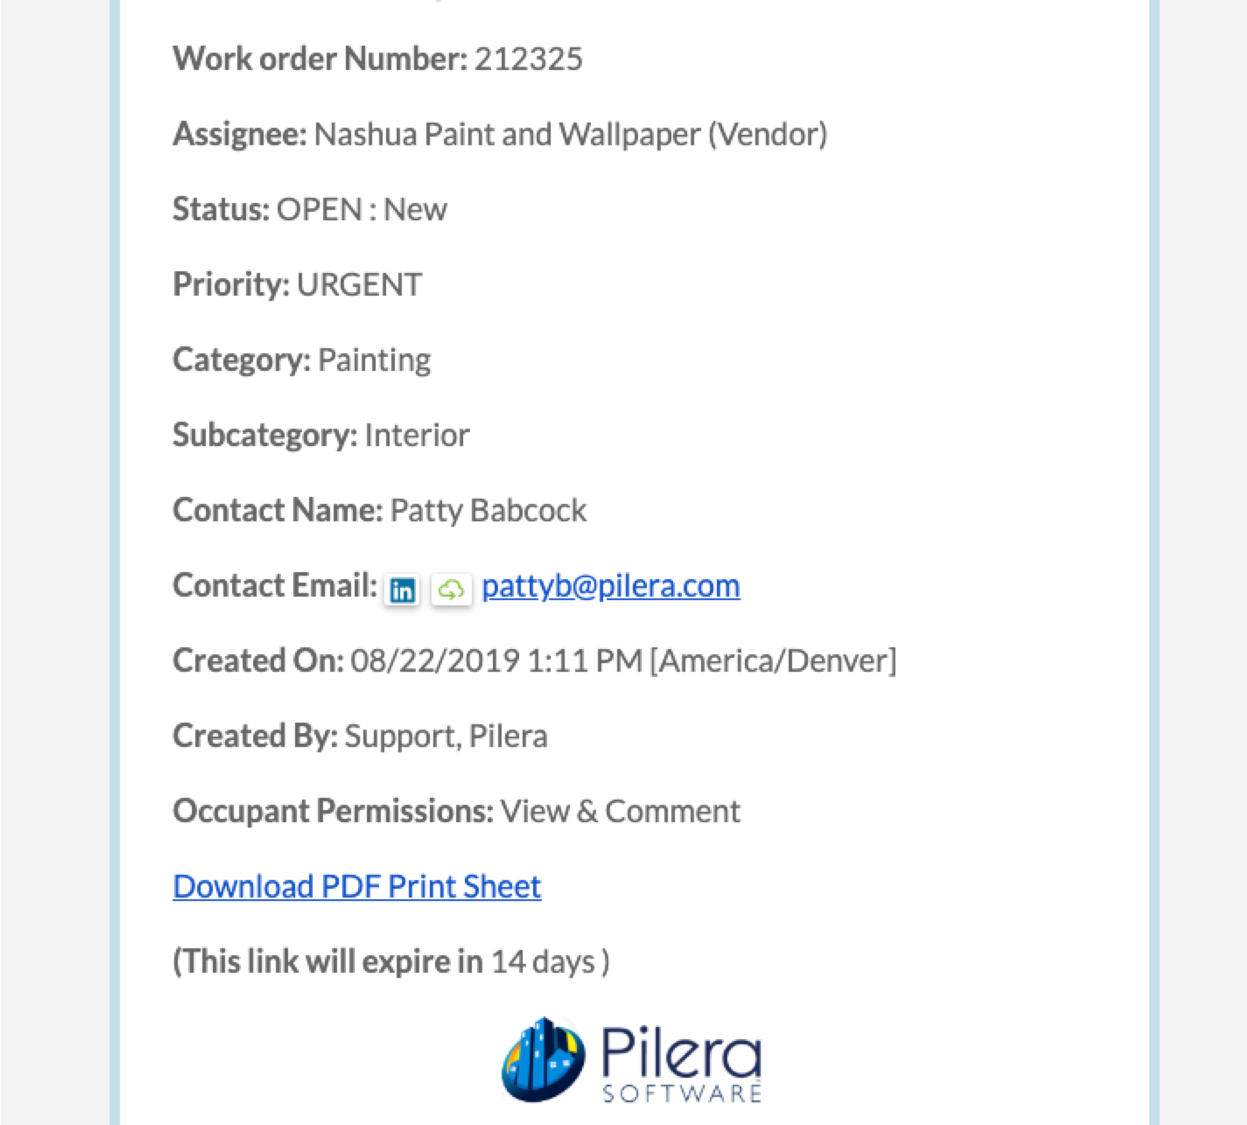
Here’s an example of what your email footer will look like with an image (in this case, we've added the Pilera logo):
