How to Connect your community to QuickBooks
Overview: How to Connect (or Re-Connect) your community to QuickBooks.
Step by Step Directions:
In your Admin Portal, Select “Settings” and “QuickBooks Management”.

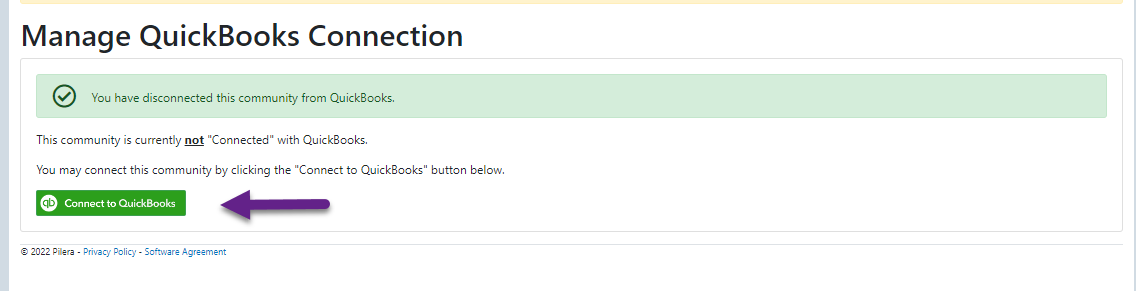
To connect your community, click on “Connect to QuickBooks”
You will automatically be redirected to QuickBooks’ “Sign In” page. Type in your email address or user ID and password, and then click “Sign In”.
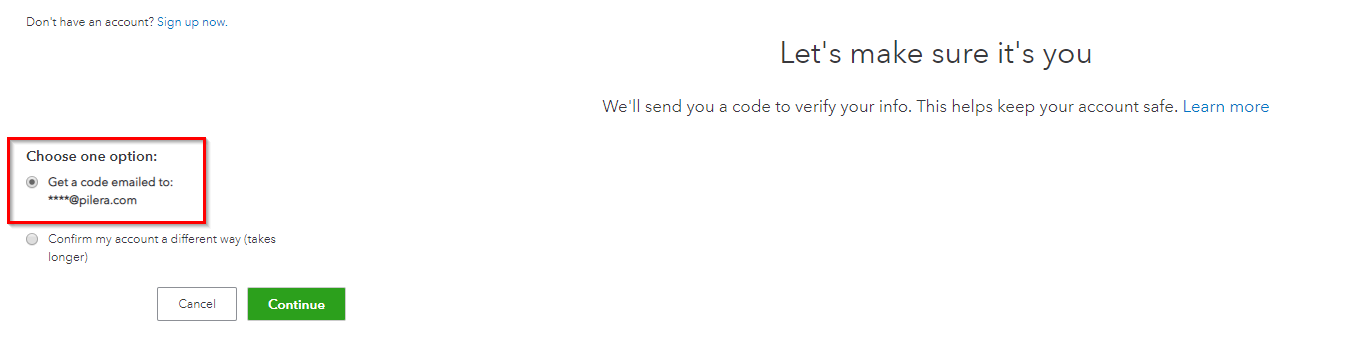
Once you’ve signed in, you will be prompted to verify your QuickBooks account. The simplest and fastest way will be to have QuickBooks send a verification code to your email. Check the first option, “Get a code emailed to…” and then click “Continue”.
Navigate to your email to retrieve the 6-digit verification code sent to you. Copy the code.
Navigate back to the QuickBooks verification page. After you have pasted the verification code, click “Continue”.

Click “Connect” to authorize QuickBooks to share your data with your community’s account in Pilera.
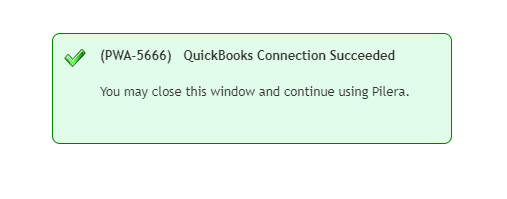
Success! Your QuickBooks account is now reconnected to your community in Pilera. When you navigate back to the Pilera portal, you will see the integration in action.

Conclusion: Don’t worry if you or another staff member has accidentally removed the connection between your QuickBooks account and Pilera. Reconnecting is simple and only takes a few minutes.
Related Articles
Share Financial Information to QuickBooks sub-customer users.
There are many ways to configure your QuickBooks data and many users will create sub-customers under the main owner. This can be used for spouses, other owners or a variety of different reasons. When you want to format your data this way but still ...How can a resident use the Community Directory?
Summary/Goal: Residents can better connect with their fellow community members using the Community Directory and can list their own contact information for others. Opting into the directory: Once you're logged into the portal, hover over to the ...How to create a Community Notice
How to create a community notice Pilera released this new feature so that managers could place a notification or message on the resident's homepage when they login to Pilera. This message could be posted in preparation for a storm, or general ...How do I add / edit the Community Contacts that are visible to the residents in the Resident Portal?
Summary/Goals: To add important community contacts within Pilera so residents can view and contact them if necessary. Step-by-step: UNDER SETTINGS, click on the Community Contacts link. ADD INFORMATION in the Title and Contact fields. Feel free ...How do a make someone a Community Moderator - Community Discussion Board
Discussion Board - Community Moderator Role Pilera's newest feature - the Community Discussion Board allows for occupants and community managers to create topics/communications to share with the community. The Discussion Board is accessible by ...